Hearing How To Guides
Welcome to our “Hearing How To Guides” page. On this page we are adding instructions and videos to show you how to do some popular tasks to do with your hearing aids.
If you’d like to see a How To guide on a particular hearing-related topic, please get in touch to let us know.
How to view the guides
Please click on a topic heading below and the instructions will display for you to follow.
Phone connectivity
iPhone and Android
Step 1. Switch your hearing aids off and on.
For hearing aids with batteries, open and close the battery door, for rechargeable place them in the charger for a few seconds and then take them out again.
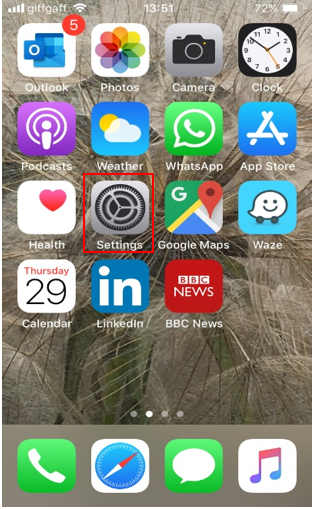
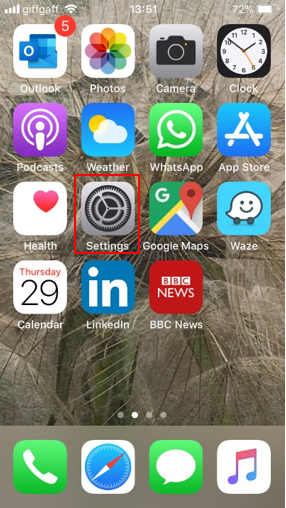
Step 2. Open “Settings” on your phone.
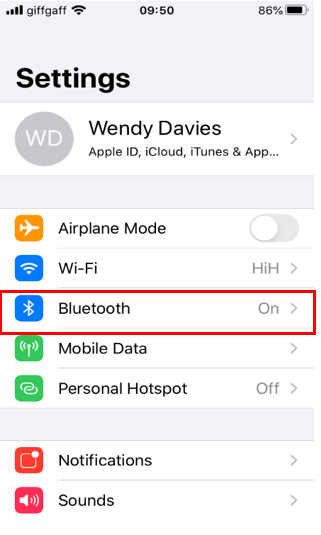
Step 3. Select “Bluetooth” and ensure that is it switched on
Step 4: Wait while your phone searches for the hearing aids. Note that it will only show one of your hearing aids. Your Audiologist will advise which one, but it is generally the right side.
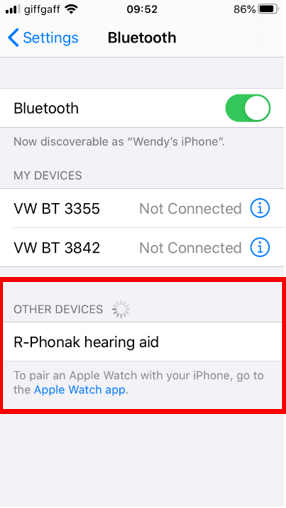
Step 5: Tap on “R-Phonak hearing aid.”
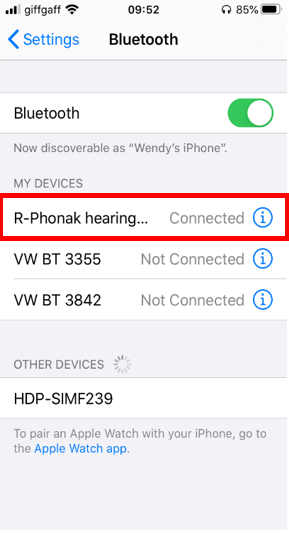
R-Phonak hearing aid will now show as connected under “My Devices.”
Step 6: Taking phone calls
You will now hear the callers voice directly through your both of hearing aids.
Accepting a call: you will hear the phone ringing directly through both of your hearing aids.
To answer the call, either press the button on the back of your hearing aid or accept the call on your phone in the usual way.
To end the call, either press the button on the back of your hearing aid or end the call on your phone in the usual way.
For Oticon, Starkey, Signia, Audio Service hearing aids
iPhone only
Step 1. Switch your hearing aids off and on.
For hearing aids using batteries open and close the battery door; for rechargeable, place the aids in the charger for a few seconds and then remove them again.
Step 2. Open “Settings” on the iPhone
Step 3. Select “Accessibility
N.B. for iPhone not on the latest iOS,
go to “General” and the “Accessibility”
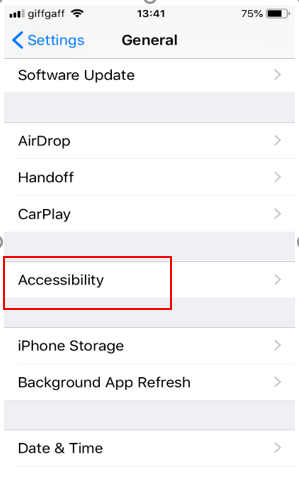
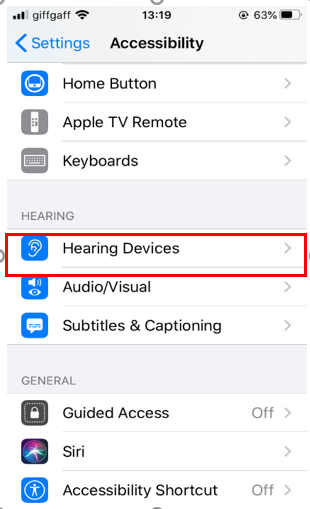
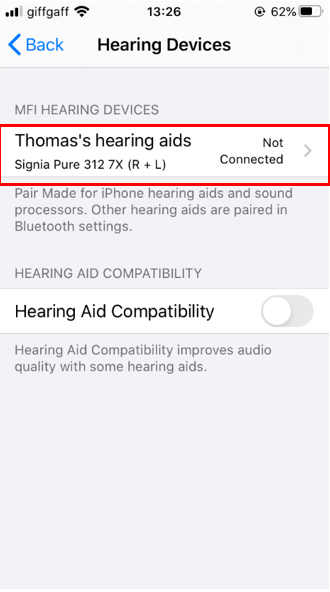
Step 4: Go to “Hearing Devices”
Step 5: Wait while to iPhone searches
for the hearing aids, If the iPhone does
not find the hearing aids, switch them
off and on again.
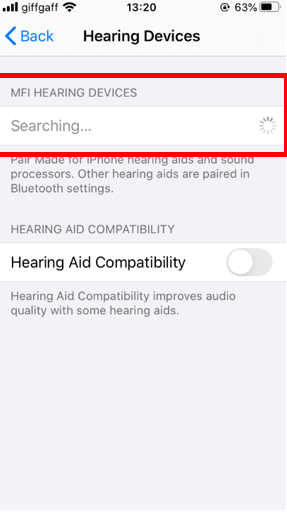
Step 6: Once the iPhone has found the hearing aids it will show them as not connected.
Click on the > to the right of the words “Not Connected”
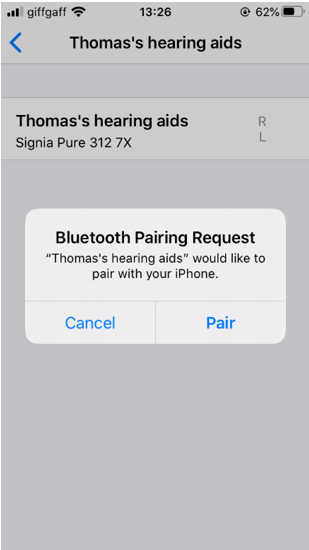
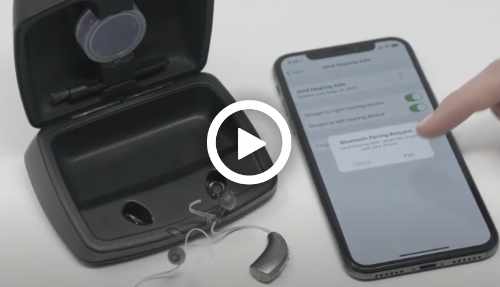
Step 7: a “Bluetooth Pairing Request” will appear. Select “Pair”. This will pair the first aid.
Another “Bluetooth Pairing Request” will appear. Select “Pair” to pair the second aid.
Your hearing aids are now paired with your iPhone and you will hear phone calls through your hearing aids
Step 8:
To increase the volume of the phone call, increase the volume of the iPhone
Troubleshooting
Please follow our troubleshooting steps below
If your hearing aid stops working or you are not hearing as well as you were, please follow our troubleshooting steps below.
If you would like to book a call with an audiologist to discuss the problem, please call our usual number 0345 222 0579 and leave a message. We will return your call as soon as we can.
Step 1. Batteries
For hearing aids with replaceable batteries, insert a new battery. If this does not resolve the issue, please go to step 2.
For rechargeable hearing aids, place the hearing aid into the charger. Depending on your hearing aid model, a light should flash on either the hearing aid or the charger.
Flashing red light: the battery is flat, leave to charge for 3 hours
Flashing orange light: the battery is low and is charging, leave to charge until the light is solid green
Flashing green light: the hearing aid battery is nearly full.
Solid green light: the battery is fully charged.
If no light shows when you place your hearing aid into the charger, check that the charger is connected to the mains and switched on.
If there is still no light, please call us on 0345 222 0579.
Step 2. Clean your hearing aid
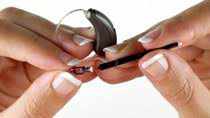
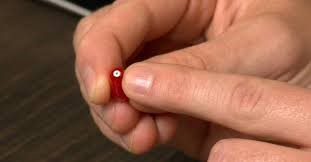
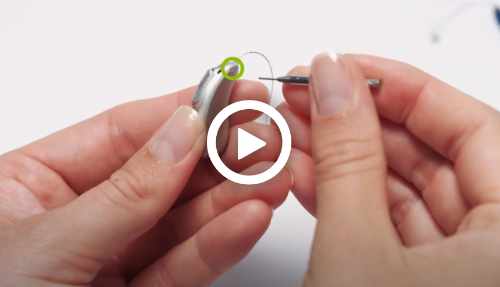
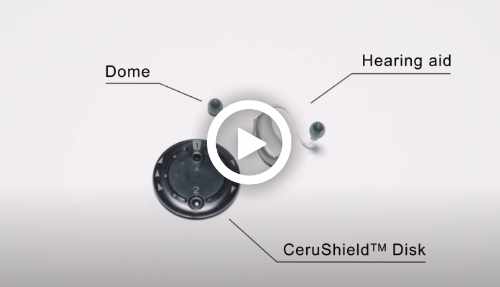
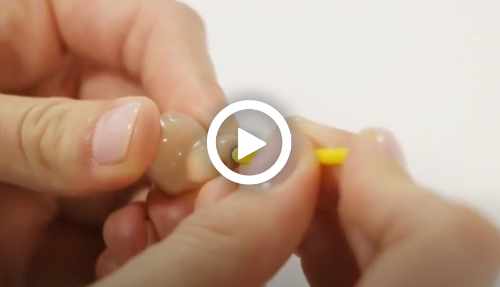
Changing the Dome
For Receiver in Canal Hearing Aids
The dome is the small rubber part that fits into your ear.
The dome has small holes at the end which allow sound to pass from the hearing aid into your ear. These small holes may become blocked with wax or moisture preventing the sound getting through.
The dome should be replaced at least every 8 weeks but more often if it becomes visibly blocked or if you are not hearing as well as you were.
You should have some spare domes in your Help in Hearing bag but if you need more, you can contact us on 0345 222 0579 or email, and we will post some to you.
Each hearing aid manufacturer has slightly different style domes, but the principle is the same. The videos below show how to change the dome.
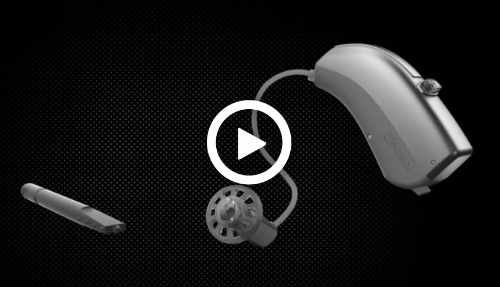
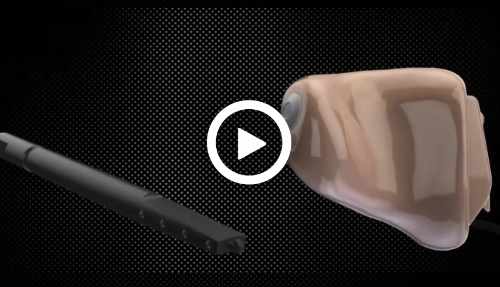
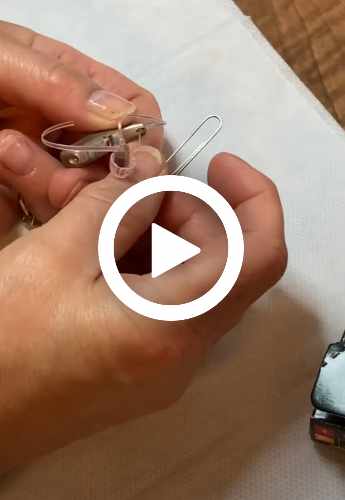
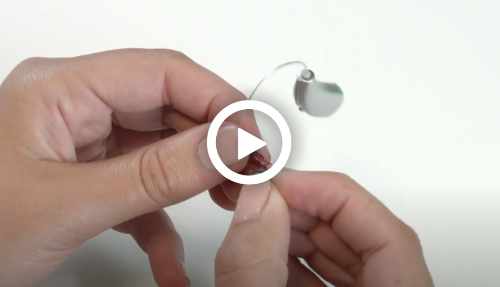
Changing the wax guard
The wax guard is fitted into the end of the receiver.
The wax guard is designed to prevent wax and moisture getting into the components of your hearing aid. This means that wax and moisture will gather in the wax guard reducing the amount of sound that is able to come out of your hearing aid.
You should have some spare wax guards in your Help in Hearing bag but if you need more, you can contact us on 0345 222 0579 or email, and we will post some to you.
Each hearing aid manufacturer has slightly different style wax guards, but the principle is the same. The videos below show how to change the wax guard on Receiver in Canal (RIC) and In the Canal (ITC) hearing aids.
Step 3. Call Help in Hearing
If changing the domes, wax guard and battery has not resolved the problem, please contact us on 0345 222 0579.
Replacing a receiver
How to change an Oticon Receiver – an in-house video by Selma Becker
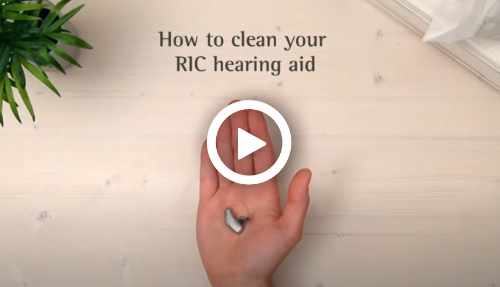
Cleaning your hearing aid


Wax filters and wax guards

How to change an Oticon Mini-fit Wax Guard – an in-house video by Selma Becker

How-to tips for Livio AI wearers
With the Starkey new telehealth program, Hearing Care Anywhere, Livio AI hearing aid wearers can request minor adjustments to their hearing aids from their hearing care professional — without needing to make an appointment or stop into their office.
Hearing Care Anywhere is convenient, and it’s easy to use
If you’re a hearing aid wearer, you know that there are times when your hearing aids need a minor tweak or quick adjustment to ensure you’re always hearing your best. Now, instead of bringing them into one of our clinics, you can request — and we can make — many adjustments remotely, which saves you time and makes life even easier.
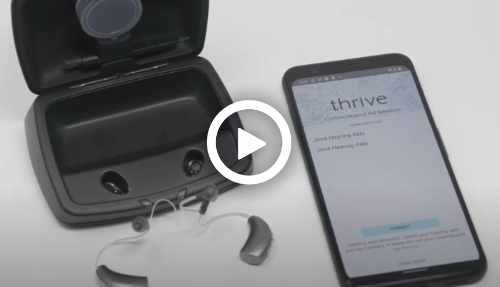
How to use Hearing Care Anywhere
Just open the Thrive Hearing app, where you can create your request and send it to us.
Once we receive the request, we will make the required adjustments, and then send the new settings back to you, directly to your smartphone and hearing aids.
When you receive the updated settings, you can preview them and compare them to your current settings. There’s no time limit to accept the adjustment, so you can keep the comparison until you are back in the environment that prompted you to make your original request.
Thanks to Hearing Care Anywhere, there’s no more need to go into our practice in order to make improvements to your listening experience.
For further information on Hearing Care Anywhere, or anything to do with your Livio AI hearing aids, please get in touch with us or give us a call on 0345 222 0579.